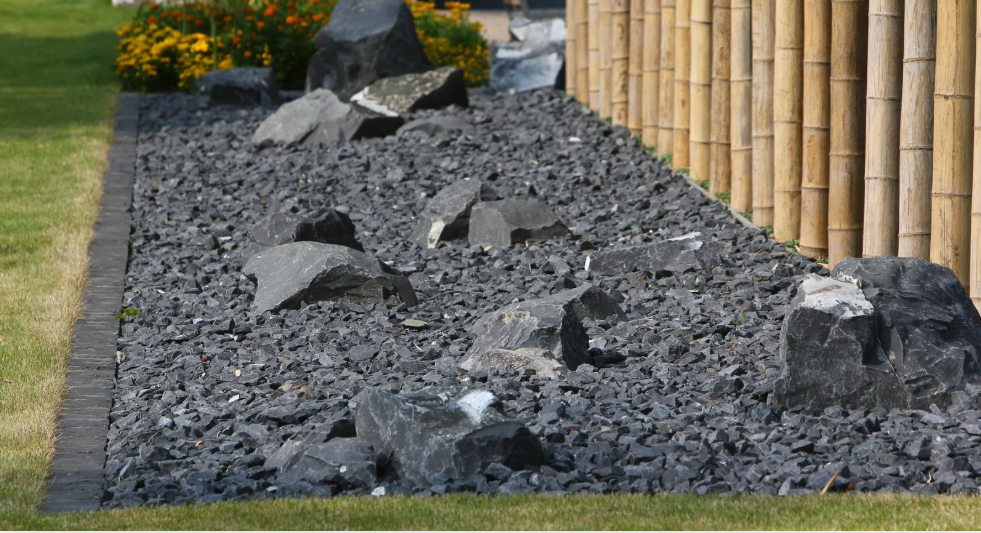
Find out how much it costs to have landscape rock or river rock installed in 2025. Get prices per ton, delivery fees, labor rates, and expert tips to save.
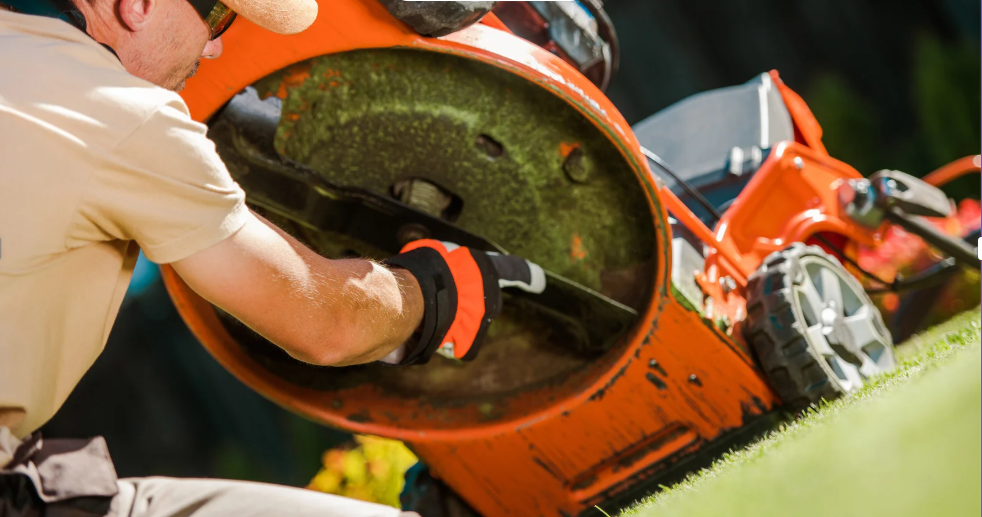
A sharp mower blade is very important to get clean and even cuts. If you mow your lawn with a dull blade, you might make your grass vulnerable to disease. This guide will walk you through 3 ways to sharpen your mower blade (even for beginners). We will give you tips and show you the necessary tools and techniques so you can sharpen your mowing blade like new.
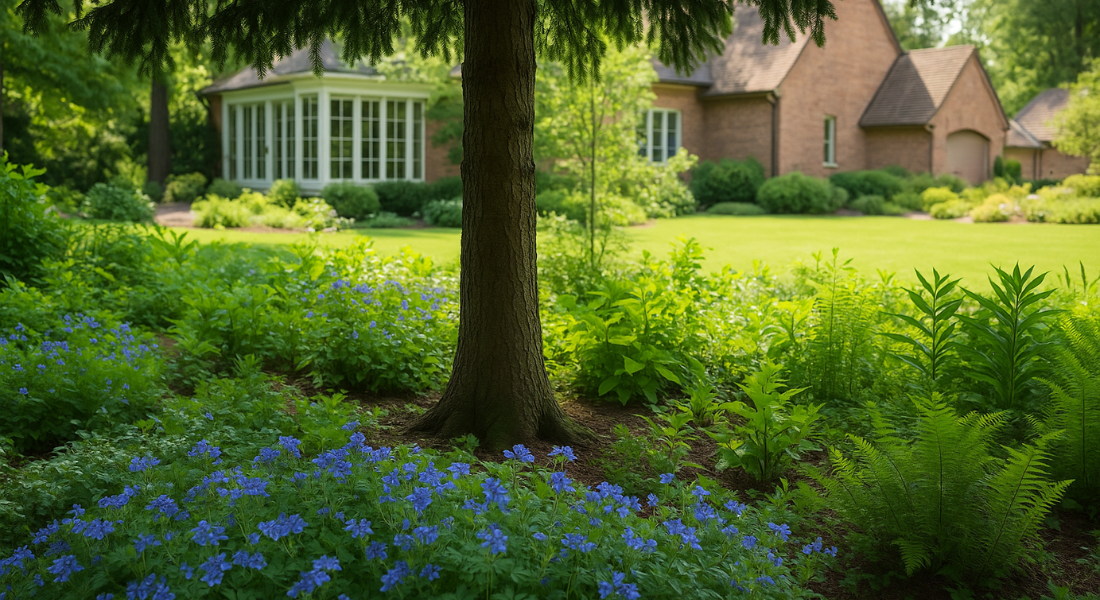
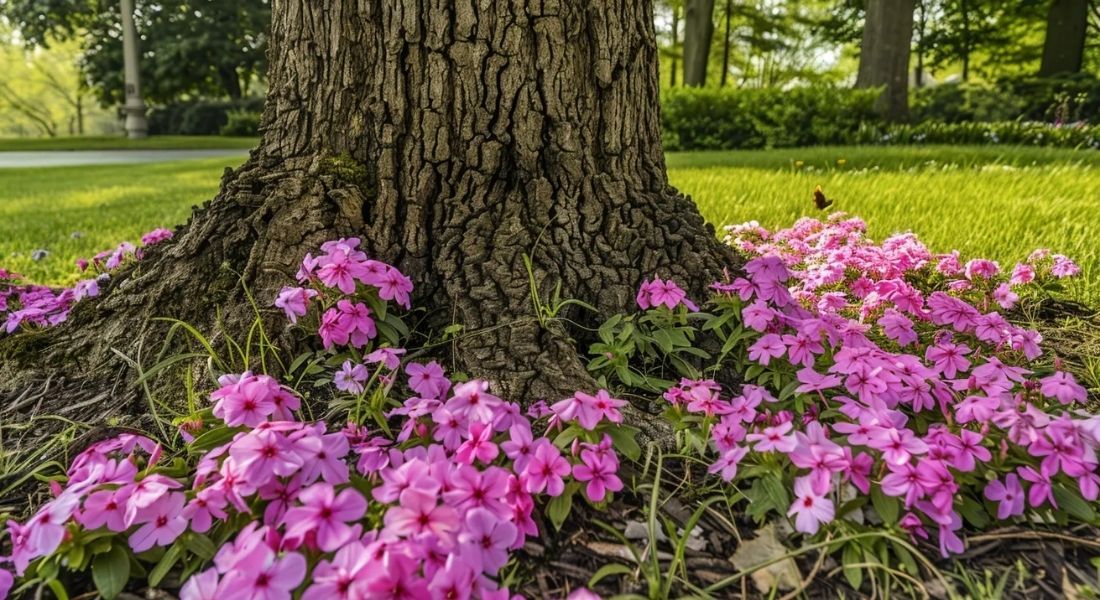
Discover what plants flower and thrive under the shade of trees. Explore flowers, ground covers, and shrubs perfect for low-light garden spaces.
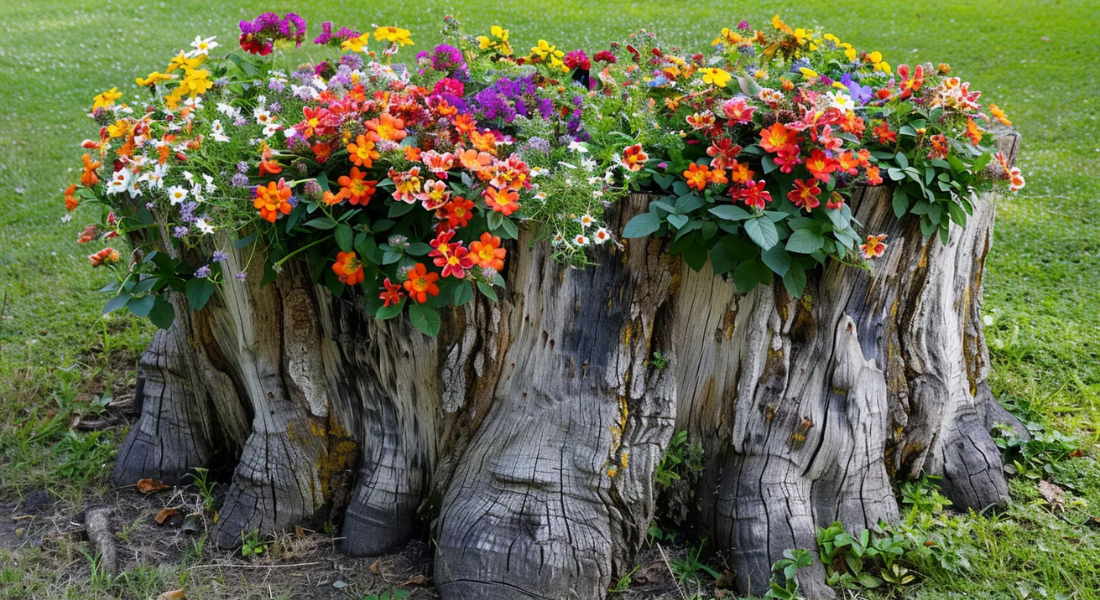
Tree stumps can be an eyesore in your yard, but with a little creativity, you can transform them into a beautiful natural planter. In this blog, we'll discuss: Tips and step-by-step guide on how to convert an old tree stump into a planter. Best flowers, ferns, and even fairy gardens for the planter. And how to maintain the flower so it grows beautifully! Assessing the Stump Before You Begin Before turning your tree stump into a planter, take a moment to assess its condition. Check for signs of decay—if the stump is already soft or rotting, it will be much easier to hollow out. If it’s still solid, you may need to use extra tools like a chainsaw or heavy-duty drill. Also, consider the location of the stump; ensure it receives enough sunlight for the plants you want to grow. If the stump is in a shaded area, opt for shade-loving plants like ferns, hostas, or moss. Alternatively, you can trim surrounding branches to allow more sunlight or place reflective surfaces nearby to help direct light toward the plants. Finally, inspect for any pest activity, as some stumps may be home to termites or other insects that could affect your garden. Step-by-Step Guide to Turning a Tree Stump into a Planter Tools and Materials You’ll Need: Chainsaw (if the stump is very solid) Drill with an auger bit for drainage holes Chisel and hammer for carving out the center Soil and compost for planting Plants suited to your stump’s environment Protective gloves and goggles for safety Steps to Create Your Tree Stump Planter: Create Drainage Holes – Drill a series of holes in the center of the stump to allow excess water to drain and prevent root rot. Hollow Out the Center – Use a chisel and hammer to carve out the center of the stump, creating a planting space at least 8 inches deep. Remove Debris – Clear out any wood shavings, bark, or rotten material. If the edges are too rough, you can smooth them with a chisel for a more polished look. Fill with Soil and Compost – Add a mixture of nutrient-rich soil and compost to create a healthy environment for your plants. Plant Your Favorite Flowers or Foliage – Choose plants that will thrive in the given sunlight and moisture conditions. Ferns, flowers, moss, and native plants work particularly well. Water and Maintain – Water your new tree stump planter regularly and monitor the plants' growth. Add more compost over time as needed to maintain nutrient levels. Add Decorations – Add moss, stones, or even a fairy house to create a more decorative look.
Can you plant bedding plants on top trees? Yes—but do it right. Learn the safest way to plant over roots without harming your tree or flowers.
Can a general contractor handle landscaping? Learn when they can, what licenses they need, and how to hire the right pro for your outdoor project.
Get expert tree planting services for strong, healthy trees. Ensure proper growth, boost curb appeal, and add value to your property. Free quotes available.
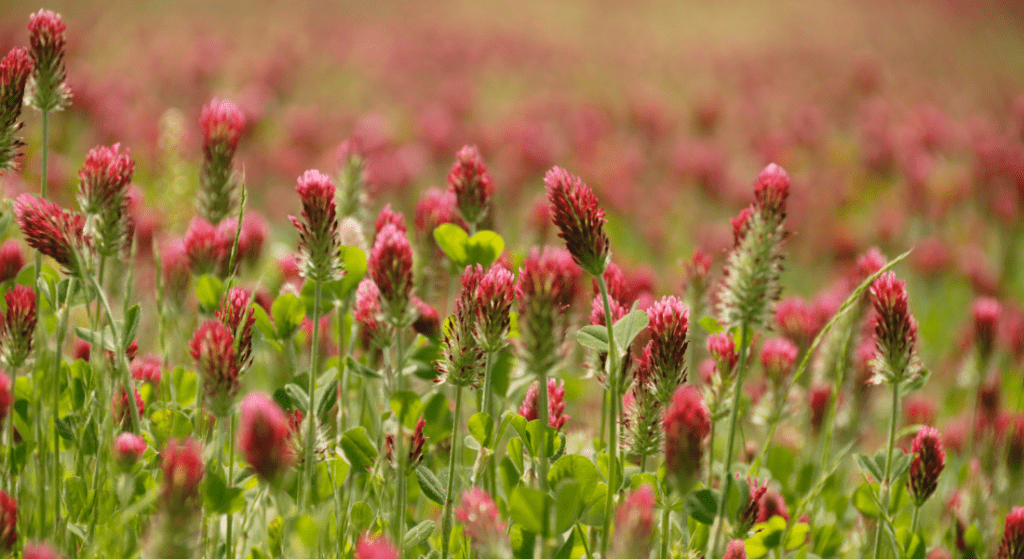
Discover top clover lawn tips for a greener, low-maintenance yard. Learn how to plant, care for, and maintain a beautiful clover lawn effortlessly!

Learn essential grass upkeep tips for a lush lawn! From mowing and watering to fertilizing and weed control, get expert lawn care advice for beginners.
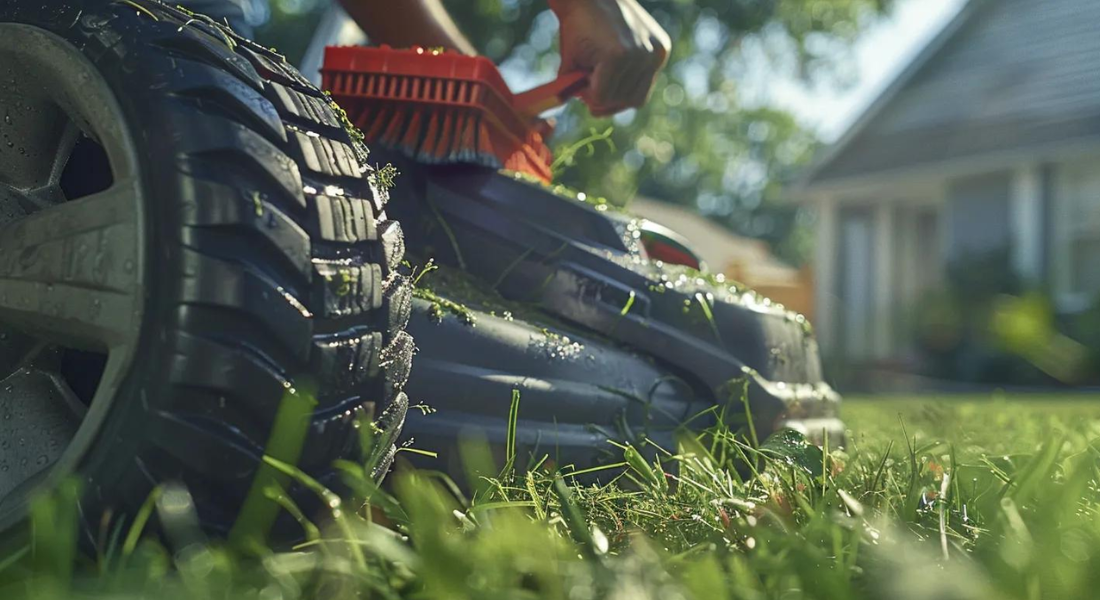
Can You Mow Wet Grass? Find out why it's generally not recommended and get 5 essential tips if you absolutely have to mow your lawn when it's wet.
