SOD Installation Guide: Costs, Tips, and More
Are you dreaming of a lush, green lawn that will be the envy of your neighborhood? If so, you might be considering sod installation as the quickest way to achieve that picture-perfect lawn. But before you dive into the world of sod, you need to understand the costs, the process, and the best practices. In this comprehensive guide, we will explore everything you need to know about laying sod, including the much-debated question, “How much does it cost to install sod?” So, if you want to learn how to transform your yard into a green oasis, keep reading.
Sod Installation: What’s the Buzz About?
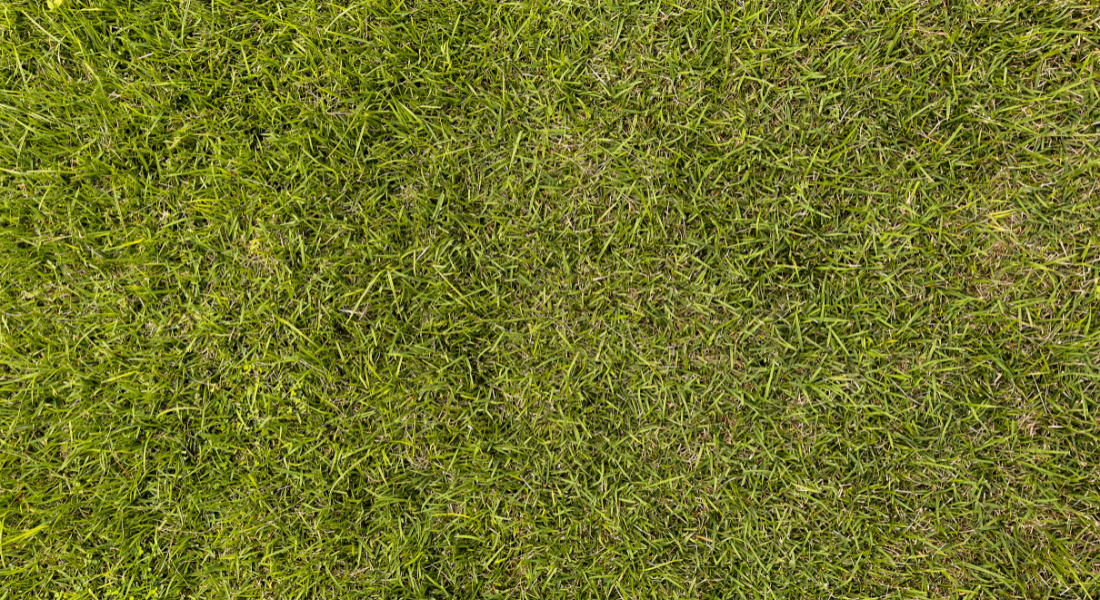
Before we get into the nitty-gritty details, let’s start with the basics. Sod installation, also known as laying sod, is a process where pre-grown grass is rolled out onto your lawn. It provides an instant, green, and mature look to your landscape, saving you the time and effort of waiting for grass seeds to grow. But, as with any home improvement project, there’s more to it than meets the eye.
What Does Sod Installation Involve?
Sod installation encompasses several key steps:
- Preparing Your Lawn: The first step involves removing old grass and weeds, leveling the soil, and adding fertilizer if needed. This process ensures a healthy foundation for your new lawn.
- Choosing the Right Type of Sod: Selecting the appropriate type of sod is crucial. Different grass varieties have distinct features, including color, texture, and drought resistance. Your choice should align with your preferences and the local climate.
- Measuring Your Lawn: Determine the square footage of your lawn to calculate how much sod you need. Buying the right amount of sod is essential to avoid excess costs.
- Installing the Sod: Lay down the fresh sod rolls in a staggered pattern, similar to how bricks are laid. This approach ensures a seamless and visually appealing lawn.
- Watering and Maintenance: Adequate watering is vital to help the sod take root and thrive. Regular maintenance, such as mowing and fertilizing, is also necessary to keep your lawn healthy.
Now that we’ve covered the basics, let’s dive deeper into each aspect of sod installation.
Sod Installation Costs: How Much Does It Cost to Install Sod?
One of the most common questions people have when considering sod installation is, “How much does it cost?” The cost of laying sod can vary significantly depending on various factors. To give you a better idea, we’ll break down the key elements that affect the overall cost.
1. Type of Sod
The type of sod you choose plays a significant role in determining the cost. Some grass varieties are more expensive than others due to their characteristics and maintenance requirements.
2. Size of Your Lawn
The square footage of your lawn directly affects how much sod you’ll need to purchase. Larger lawns naturally require more sod, which will increase your expenses.
3. Labor Costs
While DIY sod installation is an option, many homeowners choose to hire a professional to ensure a successful outcome. Labor costs can vary based on your location and the complexity of the project.
4. Additional Costs
Beyond the basics, there may be extra expenses, such as soil tests, sod cutters, and the purchase of any additional materials like fertilizer or soil.
5. Local Factors
The cost of sod installation can also be influenced by your location, as prices can vary from one region to another.
To get a more accurate estimate of how much sod installation will cost for your specific project, it’s best to obtain quotes from local professionals or suppliers. This way, you can ensure that you’re getting a tailored estimate.
DIY Sod Installation: Is It a Good Idea?
Now that you have an understanding of the cost factors, you might be considering a do-it-yourself (DIY) approach to sod installation to save some money. But before you roll up your sleeves and start laying sod, there are a few things to keep in mind.
1. Skill Level
Laying sod may seem straightforward, but it requires some skill to ensure a successful outcome. You’ll need to prepare the ground properly, lay the sod in a specific pattern, and take care of it afterward.
2. Time and Effort
Sod installation is a labor-intensive task. Be prepared to invest a significant amount of time and effort in the project, especially if you have a large lawn.
3. Equipment
You may need specialized equipment like a sod cutter, which can add to the cost if you don’t already own it.
4. The Risk of Mistakes
Mistakes during the installation process can lead to uneven, patchy, or unhealthy grass. It’s essential to weigh the potential savings against the risk of a less-than-ideal outcome.
If you have experience with landscaping and are confident in your abilities, DIY sod installation can be a cost-effective option. However, for many homeowners, hiring a professional is the safest and most reliable route to a beautiful lawn.
Hiring a Professional: Is It Worth It?
When you decide to hire a professional for your sod installation project, you gain several advantages:
- Expertise: Professionals have the knowledge and experience to ensure your new lawn looks its best. They can handle all the details, from soil preparation to watering schedules.
- Time Savings: Hiring a pro can save you time and effort. You won’t need to dedicate weekends to labor-intensive work.
- Guaranteed Results: Professionals typically offer warranties on their work, giving you peace of mind knowing that they stand behind their services.
- Efficiency: Professionals have the right tools and equipment to complete the job quickly and efficiently.
Keep in mind that while hiring a professional can be more expensive upfront, the long-term benefits of a healthy, thriving lawn can outweigh the costs.
Sod Installation Tips: How to Ensure Success
Whether you choose to go the DIY route or hire a professional, there are some essential tips to follow for a successful sod installation project.
- Prepare Your Lawn: Remove old grass, weeds, and debris. Level the soil and add any necessary soil amendments or fertilizer.
- Measure Your Lawn: Accurately calculate the square footage of your lawn to determine how much sod to purchase.
- Choose the Right Type of Sod: Select a grass variety that suits your climate, preferences, and maintenance capabilities.
- Lay the Sod Correctly: Stagger the sod rolls in a brick-like pattern to create a seamless look. Ensure the edges of each piece are snugly butted together.
- Water Thoroughly: Water your new sod generously to help it establish strong roots. Follow a watering schedule to maintain soil moisture.
- Regular Maintenance: Mow, fertilize, and address any potential weed issues to keep your lawn in excellent condition.
By following these tips, you can increase the chances of a successful sod installation project and enjoy a lush, green lawn that enhances your home’s curb appeal.
Sod vs. Seeding: Which Is Right for You?
Before you commit to sod installation, it’s essential to weigh the pros and cons of sod against another common method: seeding. Here’s a quick comparison to help you decide which option is right for you.
Sod Installation
Pros:
- Instant results
- Established, mature grass
- Fewer issues with weeds
- Erosion control
Cons:
- Higher upfront cost
- Limited grass variety options
Seeding
Pros:
- Lower initial cost
- More grass variety choices
- Suitable for larger areas
Cons:
- Longer time to achieve a mature lawn
- Increased risk of weed issues
The choice between sod installation and seeding depends on your budget, timeframe, and lawn goals. If you’re looking for an immediate transformation and are willing to invest upfront, sod installation might be the better choice. However, if you’re on a tighter budget and can wait for your lawn to mature gradually, seeding is a cost-effective alternative.
Final Thoughts: Your Green Oasis Awaits
In conclusion, creating the lawn of your dreams through sod installation is an achievable goal, but it requires careful planning and consideration of the costs involved. Remember to factor in the type of sod, the size of your lawn, and potential labor costs when budgeting for your project.
Whether you choose to take on the task yourself or hire a professional, following the best practices for sod installation will lead to a beautiful, healthy lawn that you can enjoy for years to come. Make sure to select the right type of sod, measure your lawn accurately, and prioritize proper preparation and maintenance.
With the right approach and a little patience, your green oasis is within reach. So, go ahead and start planning your sod installation project, and soon, you’ll be the proud owner of a stunning, envy-inducing lawn.
Key Takeaways
- Sod installation is a quick and efficient way to transform your lawn.
- The cost of sod installation varies based on factors such as the type of sod, the size of your lawn, labor costs, and additional expenses.
- DIY sod installation is an option, but it requires skill, time, and effort.
- Hiring a professional offers expertise, time savings, and guaranteed results.
- Following essential tips for sod installation can ensure a successful project.
- Consider the pros and cons of sod installation versus seeding to make the right choice for your lawn.
Now that you have all the information you need, you’re ready to take the first step toward your lush, green oasis. Happy sodding!
